 |
The first step was to drag two sawhorses and a solid-core door out of the garage. (I always have a solid-core door in the garage for long-table dinner parties. Works great.) I was a little worried about reflection off the door so I painted it black. A nice side effect was it made it easy to make shooting marks with plain chalk. |
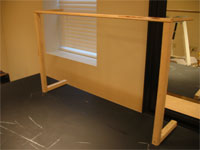 |
I wanted the stars to look as real as possible, so I built a frame that would hold the black fabric board (see below) on the front and sides and could be covered in the back. Inside the closed-in space were the lamps (below). |
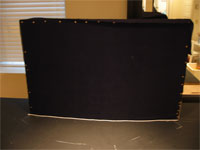 |
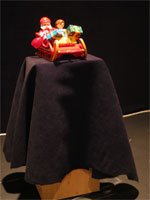
Viewed straight-on, this is the the stage with the fabric board. I put a piece of white rope along the bottom of the board to indicate the absolute bottom of the shot. |
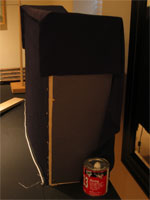 |
Side view of the "black box" that contained the stars. I stuck poster board on both sides and draped a black sheet over the top. |
 |
Inside the "box" I put three lamps. |
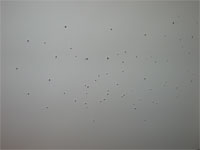 |
I punched a bunch of holes through the front of the "fabric board" to create the star effect. I call it a fabric board because I spray-on-glued some some black moleskin fabric to the front, to create a second skin onto the poster board. |
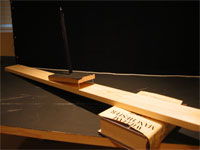 |
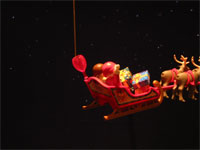
To do the fly-ins, I put the sleigh flying rig (see below) on a 1x6, which was set on top of a hardcover copy of William Manchester's The Glory and the Dream. I switched sides for the right-side fly-in. |
 |
For a smooth fly-in effect, I marked up the 1x6 with a line every 1/4". Turns out it was actually too smooth and had to remove every other frame for the final cut. To see the super-smooth fly-in, click here (Windows Media, 250K). |
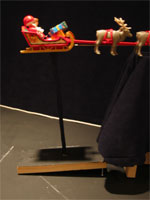 |
I took apart the sleigh flying rig before I decided to do this "making of" page, so it's leaning against a rig I used for static shots. This was an absolute bitch to make. The reindeer were so heavy I needed to run a brass rod down the full length of the sleigh and attach it with a screw. The vertical rod was a thin threaded rod screwed into a block of 1x6 at the bottom and the sleigh at the top. To hide it, I covered it with the black moleskin fabric. |
 |
To give the sleigh an upward flying look, and to make it easier to move in small increments, I screwed some round-head wood screws in the bottom, some a little futher in than others. |
 |
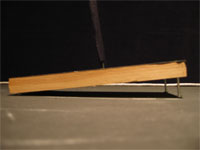
This was the rig I used for static shots. I built a block out of 1x6s and covered it with the black moleskin. I put some screws in the bottom for this, too, because it did a small amount of flying in and out of shots. |
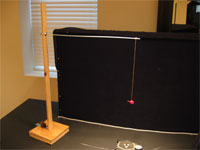 |
For the flying bottle, I built this contraption with wood and long threaded and brass rods. It was extremely difficult to shoot these shots because the bottle was very giggly after each move. |
 |
I couldn't figure out how to get the brass rod out of the shot, so for about 35 frames I had to Photoshop the rod out of the image using a "clean" star background. |
| That's about it. If you have any other questions or suggestions on how to do it, please send me an email (link at the bottom of this page). |